2013 Update: This is very out of date. There is now no need for a separate camera and recorder - for less money you can buy an integrated dash camera that will record in HD. Try the Techmoan blog for some reviews.
I have also published this article in the IMOC-UK Knowledge Base.
Summary - this is a description of how to install a fairly cheap video recording system for use on track days etc, using a portable MPEG 4 recorder and a CCD 'bullet' camera. A power supply design is also included, aimed at people with experience of building electronic circuits.
The recording device is a Mustek PVR-A1. This is a gadget about the size of a Nintendo Gameboy which can play MP3s, display photos and videos and, most importantly, record video. It accepts a composite video and stereo audio input and encodes video in MPEG 4 format at a resolution of 320x240. The built-in memory is very small so you'll need to buy a flash card (SD or MMC format) if you want to record a useful amount of video.
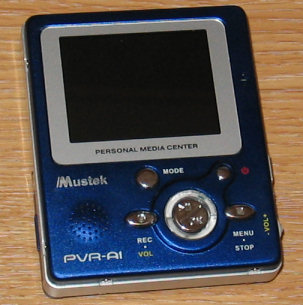
Mustek PVR-A1
The camera is a miniature CCD 'bullet camera' with 380 lines of resolution. You can buy it from RF Concepts in a pack that includes all the cables and mounting hardware you'll need. I chose to mount it on top of the CD storage box in the middle of the car.
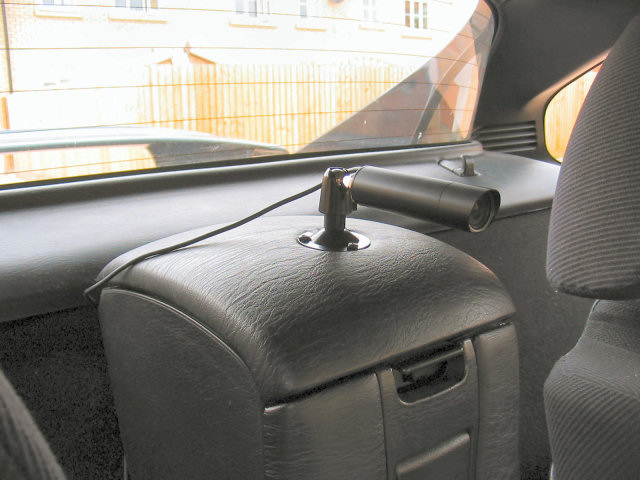
Video camera mounted in the car
It is possible to run both the camera and PVR from batteries, but to avoid the problem of batteries suddenly running out I built a simple power supply to run everything from the the car's lighter socket. This consists of a low dropout 12V regulator to provide a stable supply to the camera, and a 5V regulator for the PVR.
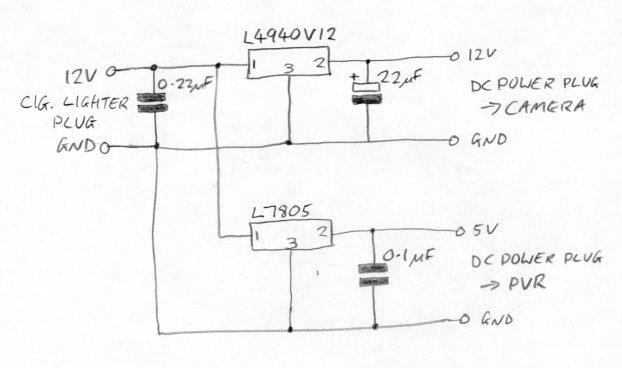
Diagram for 12 and 5 volt regulator circuit
Both the voltage regulators in the circuit have the standard TO-220 pin assignments, see below.
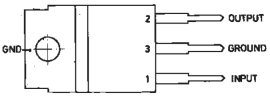
Pinout for TO-220 package voltage regulators
Most of the parts are available from your local Maplin, except the L4940V12 which you can get from Farnell (order code 413-197.) The circuit can be built easily on a small piece of stripboard. You may need to experiment to get the right size power connectors for the camera and PVR. Note I used clip-on heatsinks on both of the voltage regulators just in case they get hot. I also used a cigarette lighter plug with a built-in fuse for extra safety.
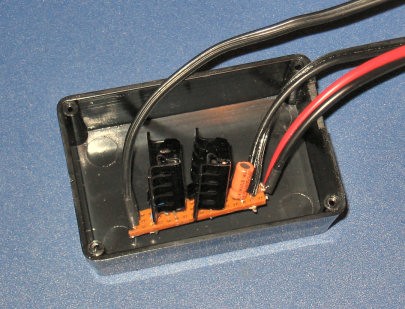
The completed circuit and the box it will be mounted in
With the circuit assembled in a small plastic box I mounted it on the side of the centre storage box using Velcro:
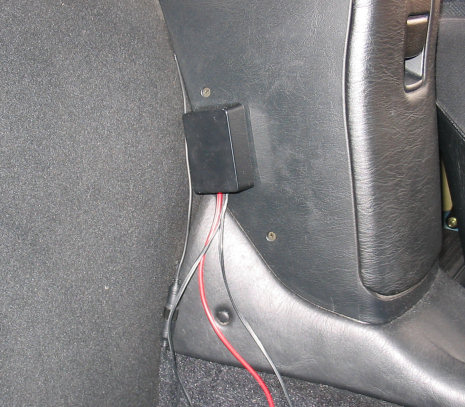
Regulator installed in the car
Connect the camera and microphone to the PVR using the supplied adaptor cable. Plug the 5V output from the regulator into the DC socket on the PVR and connect the 12V output to the camera power cable. Plug the regulator into the lighter socket, turn on the PVR and go to the video recording mode. Now you should see the camera's view on the screen and can adjust the camera angle to get a level picture. Press record and you're off! Here's a couple of sample images from recordings I've made:
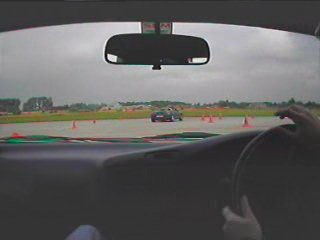
The September 2005 IMOC Elvington Track Day
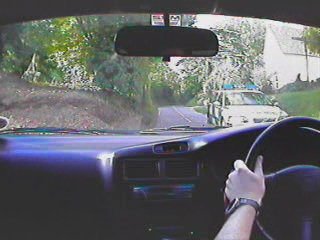
Police Camera Action!