I have also published this article in the IMOC-UK Knowledge Base.
Important: this guide assumes you have the correct wiring loom behind the dash - see the photo in Part 1 below. If your MR2 is an import you're probably alright, if it's a UK car then probably not.
You'll need:
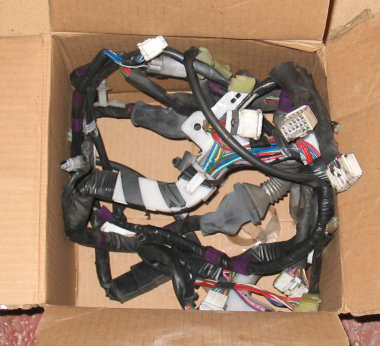
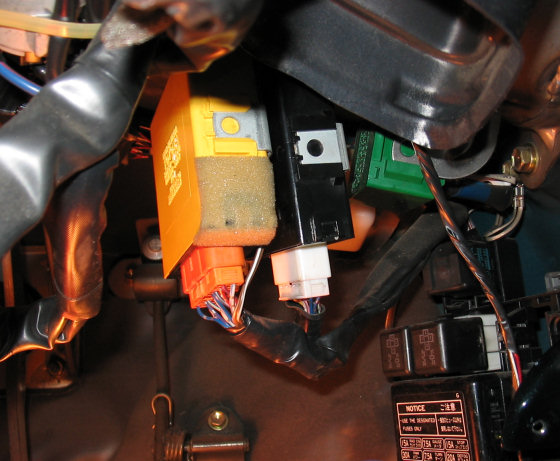
Remove the dash panel below the steering wheel (4 screws). Disconnect the fog light switch. Remove the air ducting (1 screw). Then check your wiring loom has this spare plug:
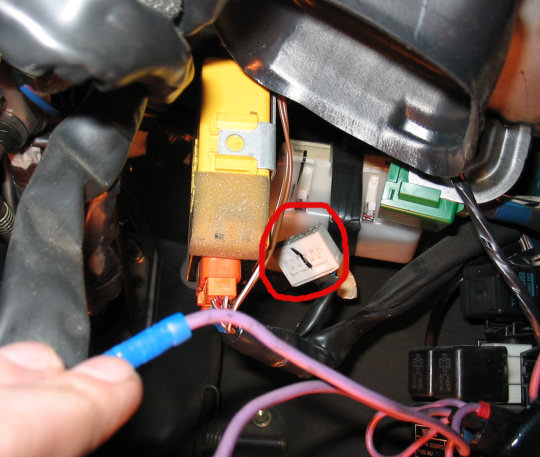
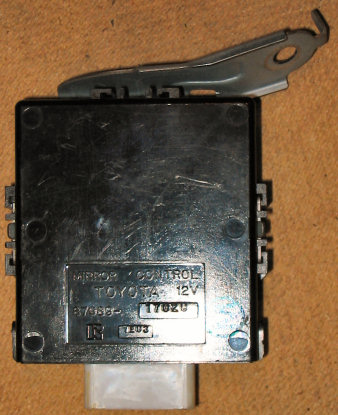
Look at where the yellow box is screwed in at the top and you'll find a spare stud just to the right of it. Attach the black box here using an M6 nut and plug the connector in.
Remove the trim that goes round the bonnet release lever and continues along the sill. There's a plastic screw at the back, near the accelerator, and several clips along the sill. Now you can disconnect the two plugs of the door wiring loom, see below.
Remove the door card. If you haven't done this before, here's a quick summary:
Unscrew the speaker, disconnect the wires and put it somewhere safe! Now carefully pull away enough of the the plastic film (held on with black gunk) to give you access to all the wires. I removed it from the speaker end of the door back to near the handle, all along the bottom edge, and part way up the other end. Disconnect all the plugs hanging off of the wiring loom (there should be five, plus the four you've already unplugged.)
Now you need to get the end of the loom from the cabin into the door. This will be easier if you've got room to fully open the door. There are two big rubber grommets around the loom which are a bit tricky to push through the holes, and the plugs on the end go through easier one at a time.
Before you can remove the loom it needs unclipping in a few places. There's a couple of clips on the big white plastic bit that sits above the speaker - either carefully unclip from behind with pliers or just pull it out and break the clips! There's also some black hangers taped to the wire - either unclip, snap off or cut through the tape. I chose to cut the tape and re-use the hangars as they were missing from my new looms.
You should now be able to pull the whole loom out from the door. Make a mental note of how some of the wires go through wholes in the plastic film. Now simply do all the above steps in reverse to install your new loom! Reconnect all the plugs apart from the wing mirror and tweeter.
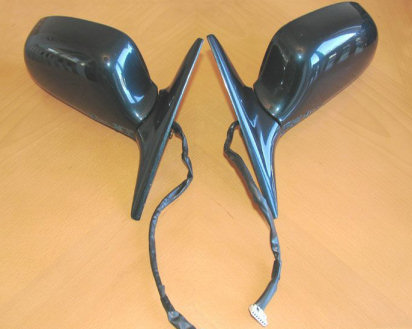
Remove the two screws holding the tweeter in place. This may be difficult if they haven't been undone before as they have a thread locking compound on them which needs heating up first. There's one more screw in the corner holding the mirror on (not the big one in the middle.) If you damage these screws, the part number for replacments from Toyota is 90149-50051.
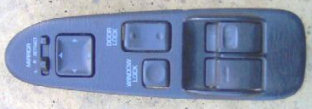
Put the new mirror in place, install the screw in the corner, then screw in the tweeter with the other two screws. Connect the mirror and tweeter plugs to the loom. At this point you'll be desperate to try it out so connect the mirror controls to the loom, turn the key to ACC or ON, and press the retract button!
When you've finished playing, put the door card back on and repeat parts 2 and 3 for the passenger side door.